Apache Airflow was developed by Airbnb’s Beauchemin in 2014 as an open-source enterprise job scheduling engine in Python programming language and was designed on the principle of "configuration as code". This project was moved on to the Apache Software Foundation as a part of the Incubator Program in March 2016. In January 2019, Apache Airflow joined the top-level project list. Now Airflow is a leading workflow orchestration and job scheduling engine in the open-source world.
Apache Airflow 2.0 was released on December 17th, 2020 with major features including a refactored and highly available scheduler along with over 30 UI/UX improvements. Other important features of Airflow 2.0 are horizontal scalability, zero recovery time, easier maintenance, and Full REST API.
In this blog we are going to use Docker and Docker Compose for running Apache Airflow 2.2.3 on our system. We will also develop a simple job (DAG) that executes tasks in parallel.
Airflow is growing fast among organizations for orchestrating workflows or complex data pipelines using Python programming language. This software is one of the most robust platforms used by the data engineering team for scheduling complex jobs. UI/UX interface of Airflow can easily be used to visualize complex data pipelines, it’s dependencies and the job progress, logs, and status.
Getting started with Airflow 2.2.3 with Docker
The prerequisite for running Airflow 2.2.3 as Docker container is the latest version of Docker service and Docker Compose utility. Install Docker service and Docker Compose on your host operating system. We are using Ubuntu 18.04 for running our test Airflow 2.2.3 instance. Steps explained here apply to Ubuntu 18.04 or above. This instance will use the CeleryExecutor in Docker for running the scheduled jobs.
Installing Airflow 2.2.3 in Docker
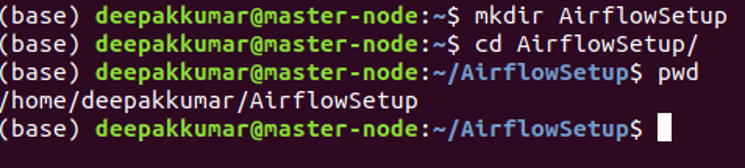
To deploy Airflow on Docker we will use the docker-compose.yaml file distributed as part of official Airflow 2.2.3 distribution. Create a new directory AirflowSetup on your disk as shown below:
To download docker-compose.yaml run the following command:
curl -LfO 'https://airflow.apache.org/docs/apache-airflow/2.2.3/docker-compose.yaml'
The curl command will download docker-compose.yaml file into the Airflowsetup directory.
Default download docker-compose.yaml file contains all the components configured to run Airflow using docker-compose on the Docker container.
Airflow scheduler: Airflow scheduler is responsible for monitoring all the tasks and DAGs. Scheduler triggers the task instances at the scheduled time.
Airflow webserver: The webserver is a web application listening at 8080 port and provides UI for managing the jobs.
Airflow Worker: The worker node is responsible for executing the task assigned by the scheduler.
Airflow init: The init is used to initialize the service.
Flower: This service is used to monitor the running jobs and it can be accessed at 5555 port.
Postgres: Postgres is used as a database.
Redis: Redis is used as a broker for forwarding messages from scheduler node to worker.
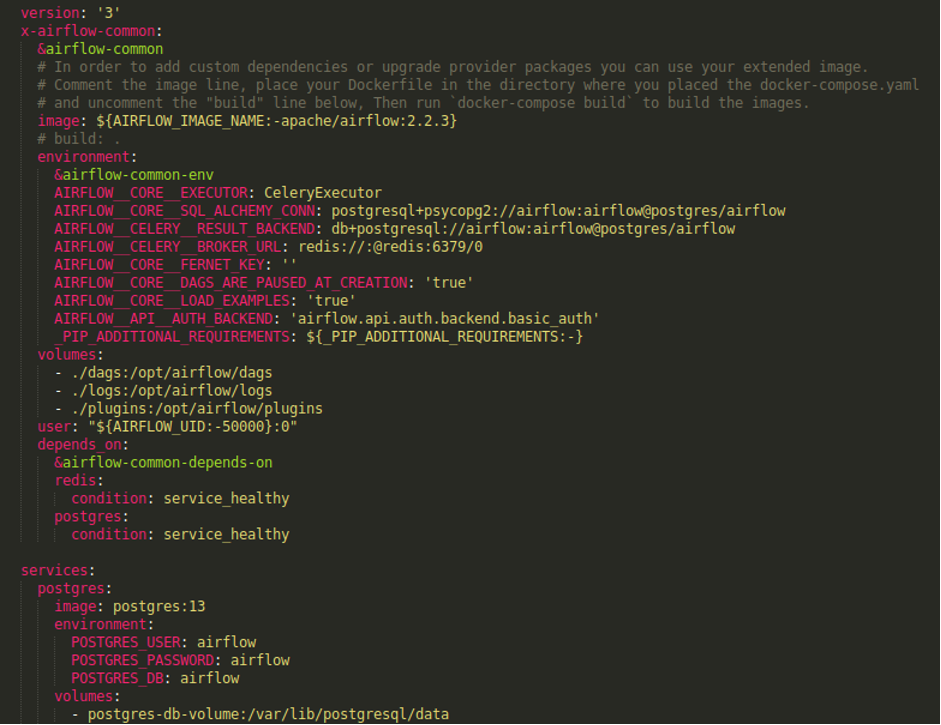
Following screen shot shows the environment configuration from docker-compose.yaml file:
Now create the following directories
./dags - You can put your DAGs in this directory.
./logs - Job execution logs are stored here.
./plugins - Extra plugins can be placed in this directory.
Following commands can be used:
mkdir dags
chmod -R 777 dags/
mkdir logs
chmod -R 777 logs/
mkdir plugins
chmod -R 777 plugins/
You should not set up 777 as permission in your production environment. For appropriate permissions, consult your administrator.
Initialize the database
Before running Airflow, you must initialize the database and for this following command should be executed:
docker-compose up airflow-init
Output of the command:
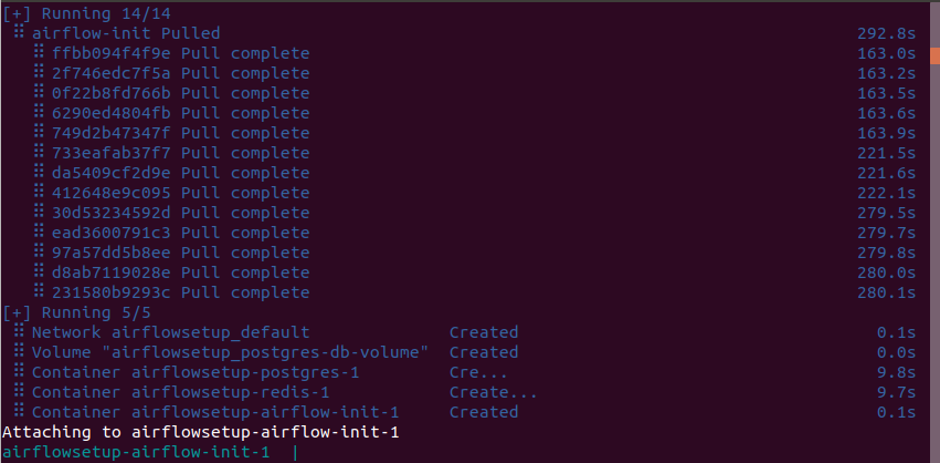
After successful execution, the following output should be displayed:

Running Airflow 2.2.3 Server
To run the Airflow 2.2.3 on your machine, execute the following command in the same terminal:
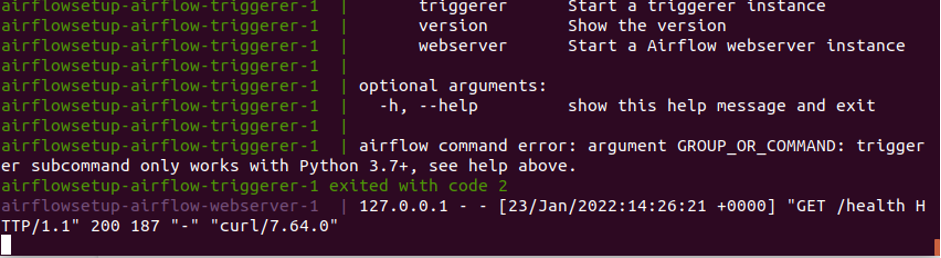
docker-compose up
This command will start Airflow server with following output:
Accessing Web Server from the browser
Airflow web server listens at the 8080 port and can be reached by opening http://localhost:8080 in the browser.
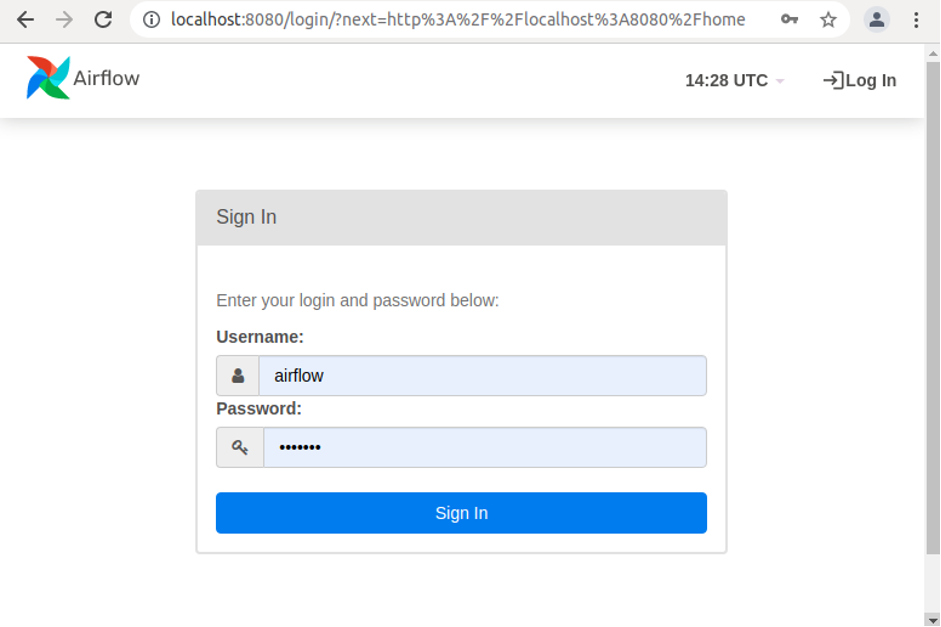
The default username and password is airflow/airflow, you should enter these credentials and press the Sign In button to open the administration panel. Here is the screenshot of the default administration panel.
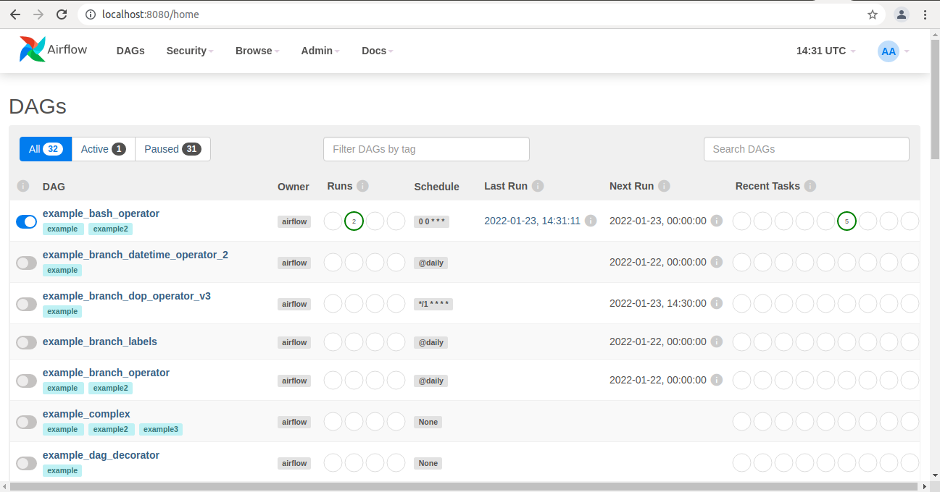
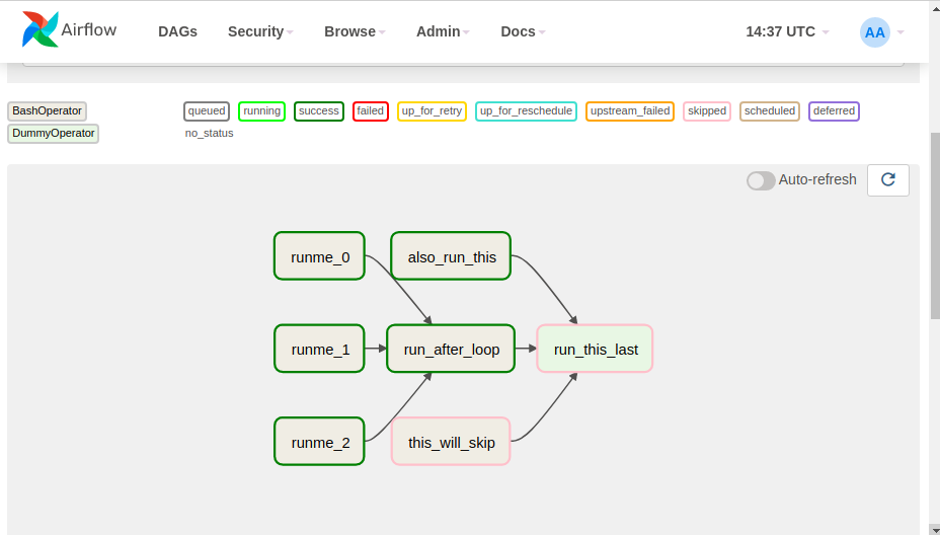
You may try to run the sample DAGs to understand the Airflow 2.2.3 UI. Here is the screenshot of the sample DAG run:
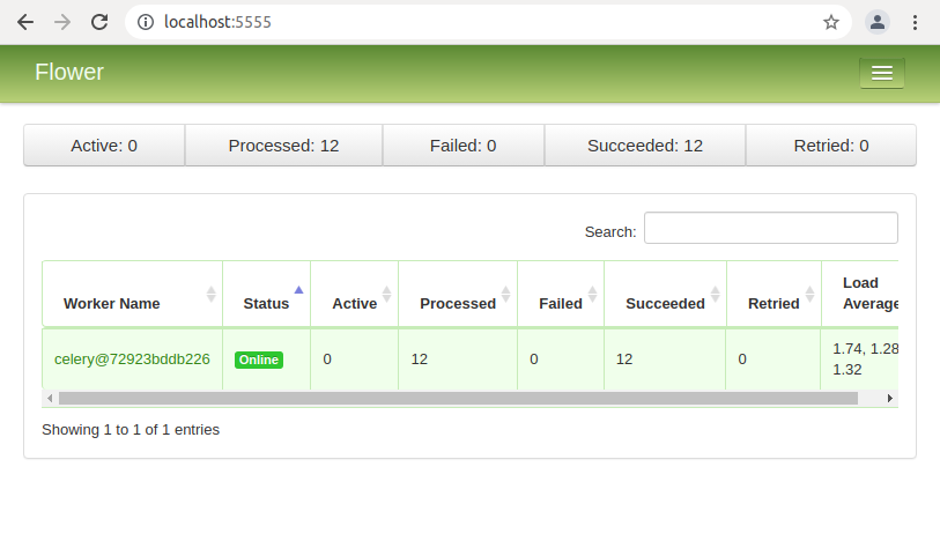
Flower UI
The Airflow Flower is a web-based tool reachable at port number 5555 and used for monitoring/ administrating the Celery clusters. Open the browser and navigate to http://localhost:5555 to access the Airflow Flower UI. Here is the screenshot of Flower interface:
Developing and testing your DAG
Airflow DAG’s are developed in Python programming language and are saved in the “dags” directory of Airflow.
Sample DAG:
from datetime import timedelta
from airflow.operators.dummy_operator import DummyOperator
from airflow.operators.python_operator import PythonOperator
from airflow.operators.bash_operator import BashOperator
from datetime import datetime
# The DAG object; we'll need this to instantiate a DAG
from airflow import DAG
# Operators; we need this to operate!
from airflow.operators.bash import BashOperator
from airflow.utils.dates import days_ago
default_args = {
'owner': 'airflow',
'depends_on_past': False,
'email': ['youremail@example.com'],
'email_on_failure': False,
'email_on_retry': False,
'retries': 1,
'retry_delay': timedelta(minutes=5),
}
def print_current_time():
now = datetime.now()
dt_string = now.strftime("%d/%m/%Y %H:%M:%S")
print("date and time =", dt_string)
with DAG(
'current_time_dag',
default_args=default_args,
description='current_time_dag',
schedule_interval='*/5 * * * *',
start_date=days_ago(2)
) as dag:
start_task = DummyOperator(
task_id='start_task',
)
task_time = PythonOperator(
task_id='current_time',
python_callable=print_current_time
)
end_task = DummyOperator(
task_id='end_task'
)
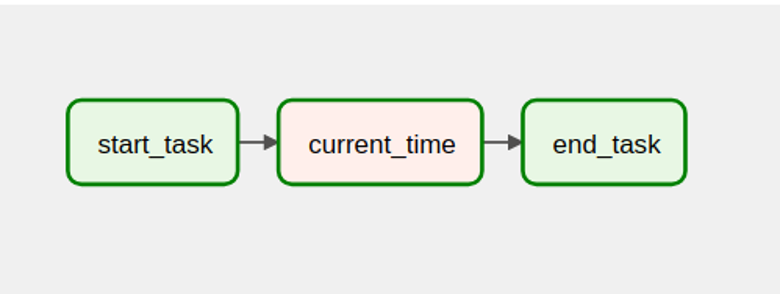
start_task >> task_time >> end_task
In the dags directory of Airflow, create a new file “current_time_dag.py” and add the above code. This DAG is a very simple Airflow DAG for displaying the current time on the console at an interval of 5 minutes.
After enabling the DAG in the Airflow Administrator console, DAG will start executing at an interval of 5 minutes.
Conclusion
Airflow is a powerful open-source enterprise grade job scheduling engine which is being used by businesses to build complex data pipelines having multiple jobs dependent on each other. The GUI features of Airflow allows users to monitor and maintain their jobs easily. It also gives users t detailed logs for each job execution which helps when analyzing any failures.About Encora
Fast-growing tech companies partner with Encora to outsource product development and drive growth. Contact us to learn more about our software engineering capabilities.

